I’ve been making homemade wholemeal bread for a few months now and it’s become a weekly ritual. I was not a baker, in fact when I was in school I failed countless times to make a tasty wholemeal bread. After many trials and errors I believe I’ve created a simple easy recipe for beginners.
Equipment you’ll need:
- Loaf tin
- Greased proof paper
- Cooling rack
- Large mixing bowl
- Large spoon
- Weighing scales
- Clean tea towel
Ingredients you’ll need:
- 250g plain flour
- 250g wholemeal flour or wholemeal bread flour
- 2tsp caster sugar
- Pinch of salt
- 75g dried yeast (1 sachet)
- 400ml lukewarm water
- Seeds or oats for a tasty topping
STEP 1: In a mixing bowl add both flours, sugar, salt and dried yeast. Give everything a good mix.
STEP 2: Add 400ml slowly to your flour mix (I use a bit of boiling water from the kettle and top it up with cold tap water) – IMPORTANT: add the water slowly as you might not need the whole 400ml.
STEP 3: Once the flour mix and water is combined it should create a sticky dough. Cover with a clean tea towel and place somewhere warm to prove for 1 hour (or until doubled in size). IMPORTANT: in winter this process can take a little longer.
STEP 4: Pre-heat your oven to 200c (after your dough has been proving for 50mins).
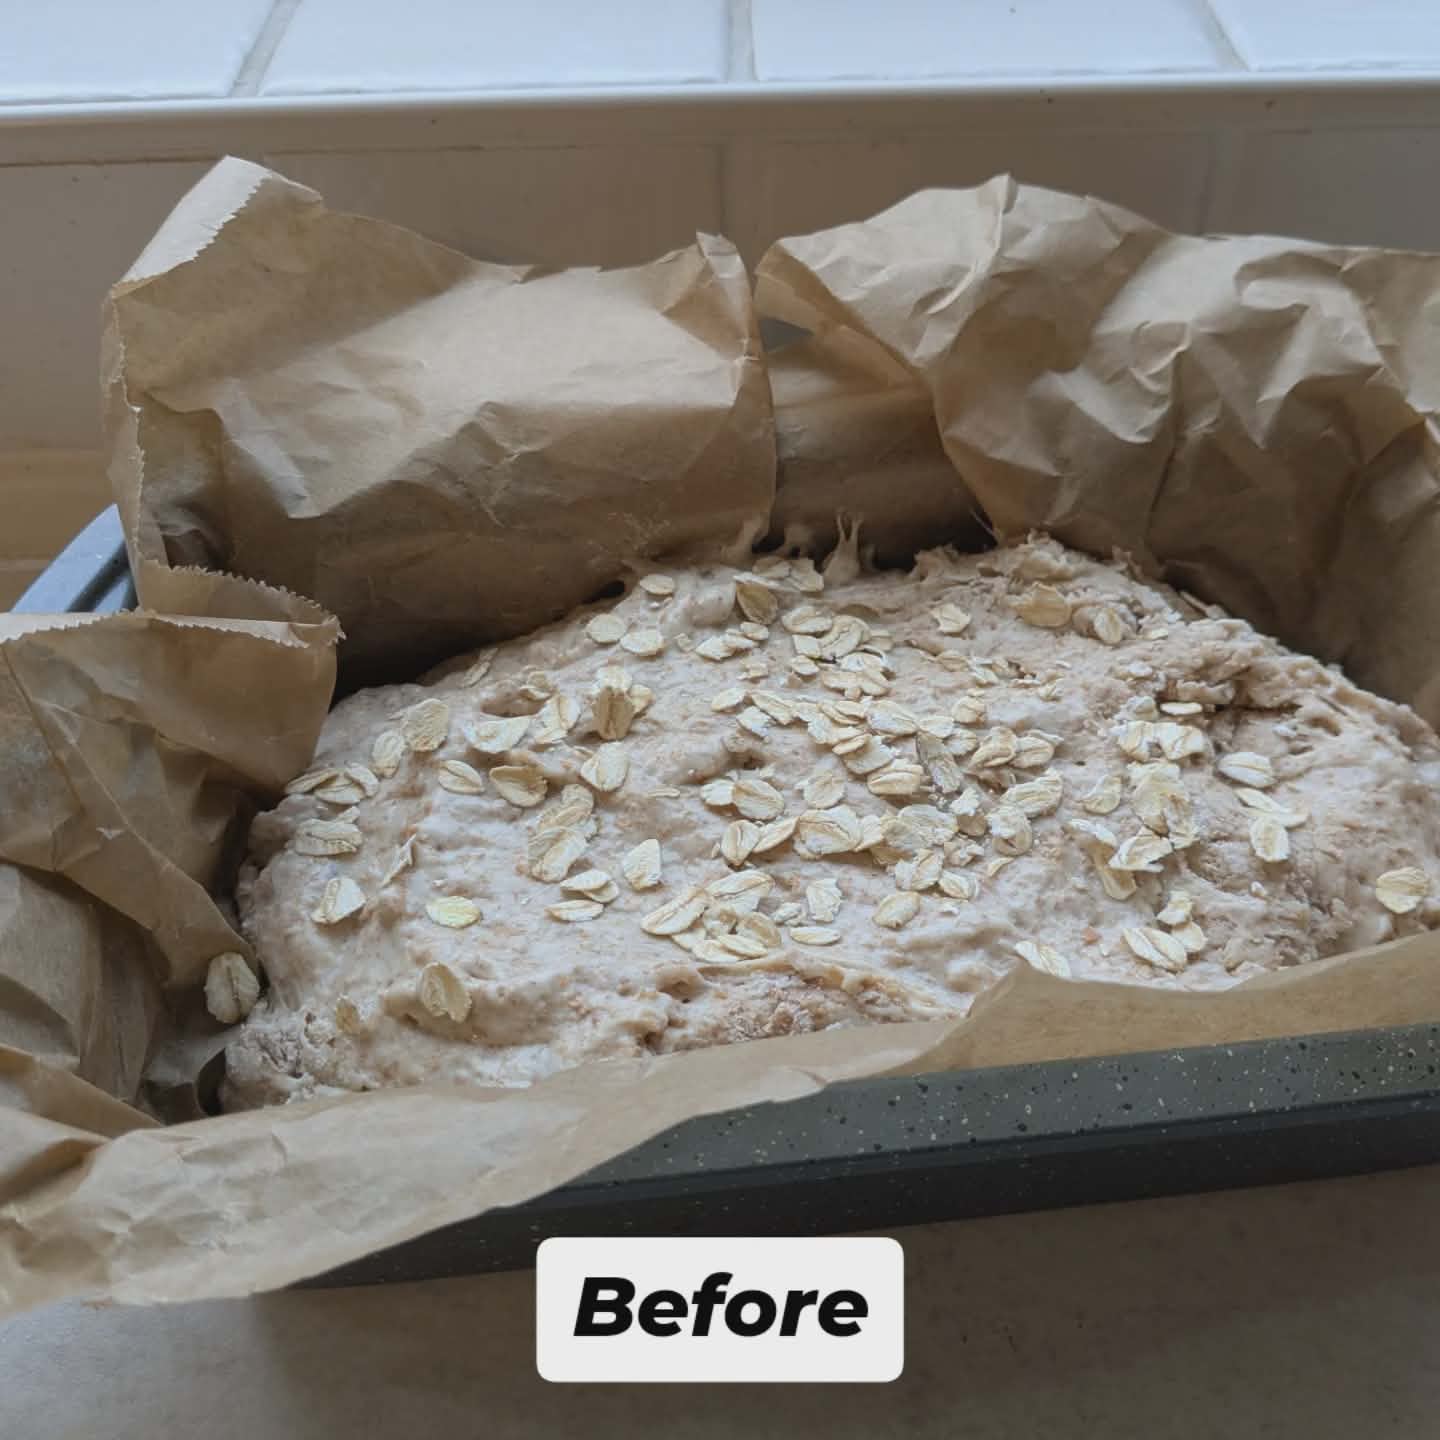
STEP 5: Take your greased proof paper and scrunch it in your hands (this makes it easier to mould into the loaf tin). Place the paper in the loaf tin (it doesn’t matter if the paper hangs over the edges).
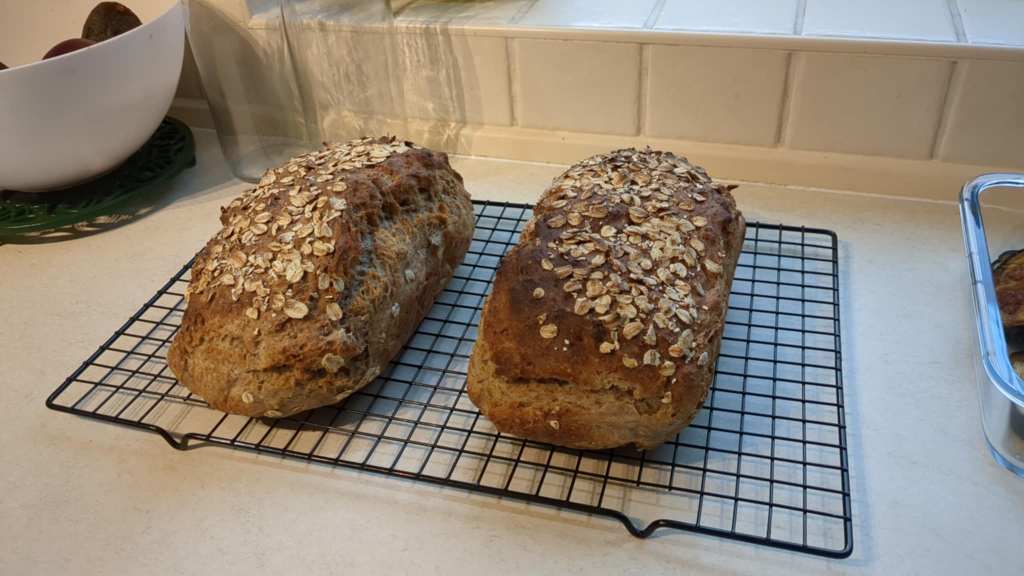
STEP 6: Pour your dough into the loaf tin and use the spoon to spread the dough out evenly. If you have time cover the loaf tin with your tea towel for a further 10-15mins. Once rested sprinkle over your seeds or oats.
STEP 7: Place your loaf tin in the oven for approximately 45 mins (keep an eye on your bread so it doesn’t get too dark).
STEP 8: Remove the bread from the loaf tin (watch your fingers as it will be hot!). Turn the bread upside down and tap on the bottom of the loaf. If it sounds hollow then the bread is ready!
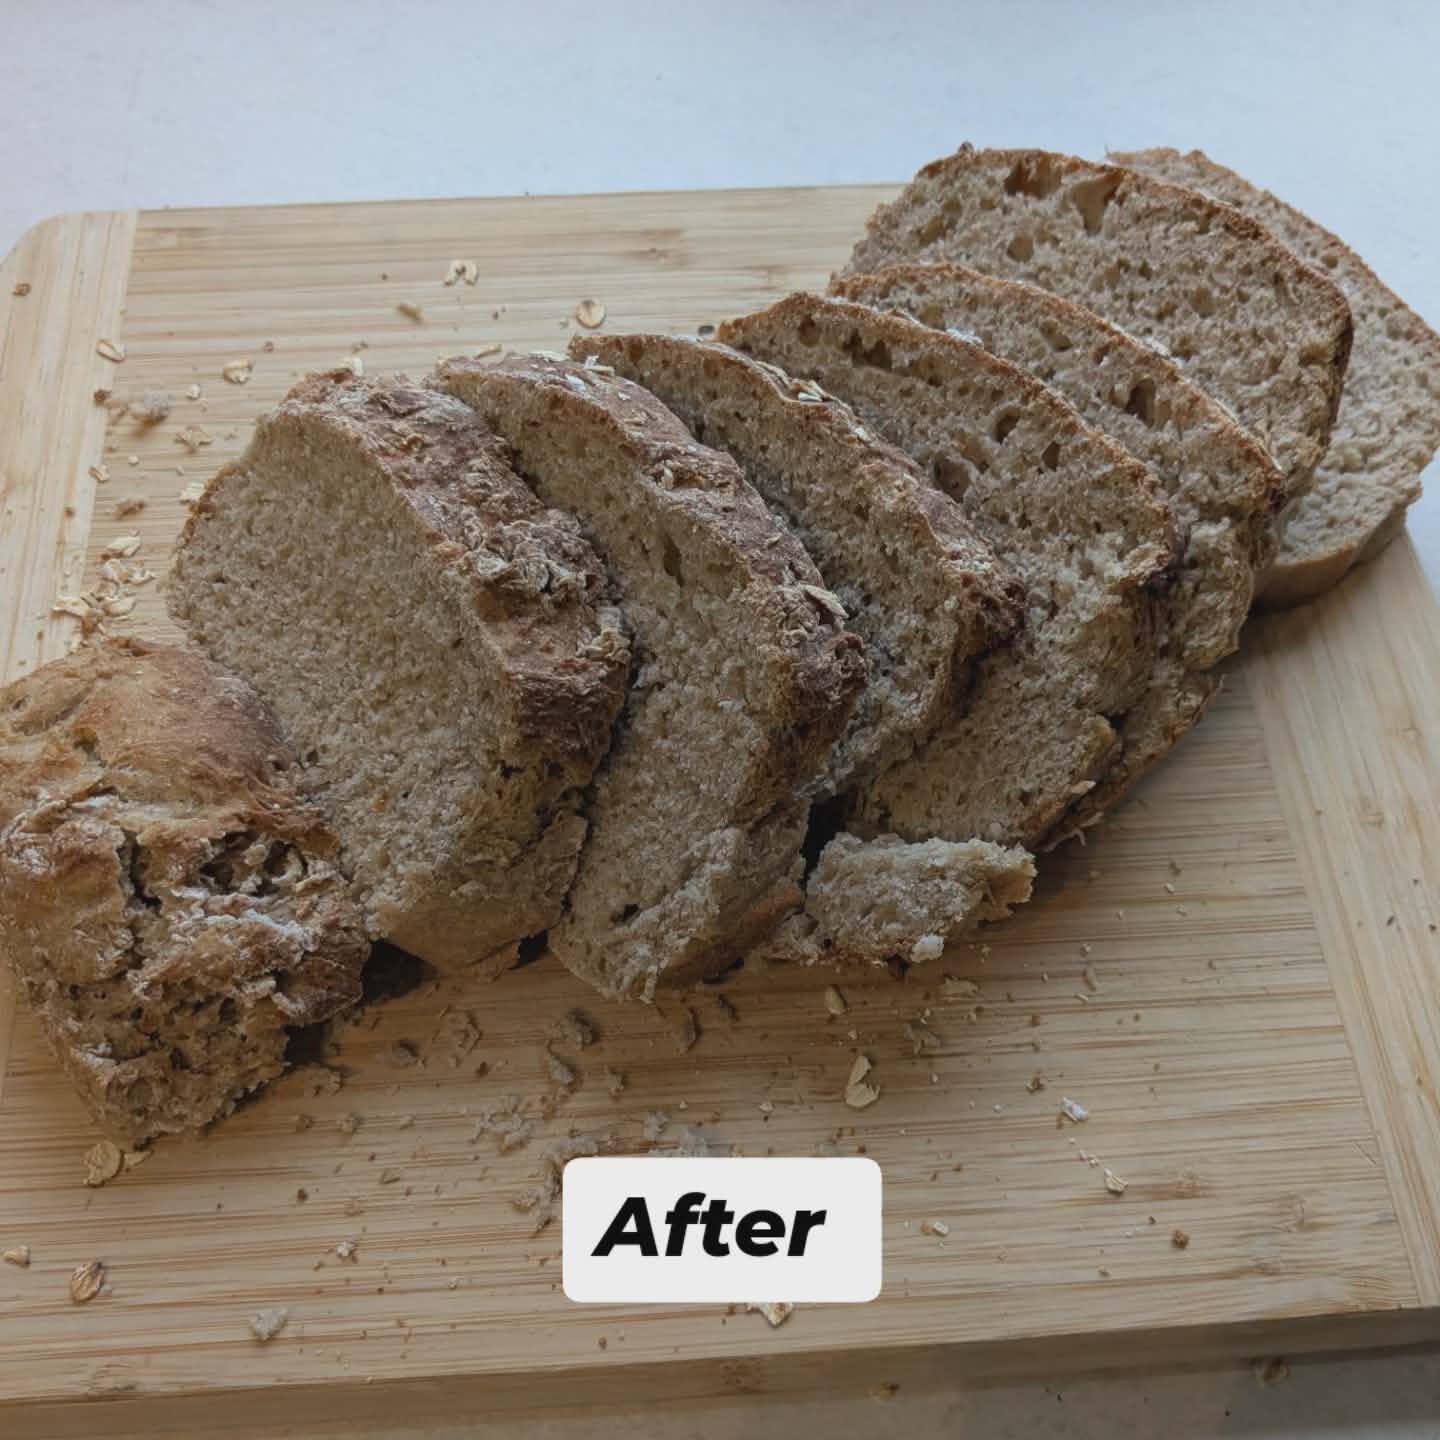
STEP 9: Place the bread on the cooling rack and allow to fully cool before attempting to slice (otherwise your slices will break apart).


Leave a comment